I’ve been going chronologically through my photos for posting on Instagram and came upon one from 2008 in Tokyo Japan that evoked an emotion.
 |
| I’m tempted to buy an old used G series camera again to mess around with. |
Looking further into it I noticed that there were multiple pictures of the same overall subject that told a visual story about the area. The camera used (Canon G9) wasn’t anything special, but it did the job.
Links are potentially affiliated in this article, I earn from qualifying purchases!
What do you often do when you see a subject you want to capture? One goal might be to get one great photo. Maybe that means photographing it from different angles or featuring aspects of the subject in many photos until one clicks?
The images had a mixture of different focal lengths. The intended focus or theme for each individual photo was also different.
Whether or not there was intent, we could be creating a visual story with multiple images.
It gave me a glimpse into what I was thinking at the time. I do strongly remember two of the images. The others didn’t stick around on my mind.
The images are simple. They are nothing really exciting. Nothing special. Some of the photos are snapshots, but others might be considered more depending on who is looking at it. What connection they might have to any aspect of the subject.
Let’s take a look at the photos….
 |
 |
| My favorite photos of the set. |
I consider this photo the most simplistic yet artistic. This one was a long focal length with intent to isolate one small patch of water. We see the green water lilies contrasted with smooth blue water. Serene and limited in color range.
 |
| Not a photo I’d normally display publicly, but it works with the set. |
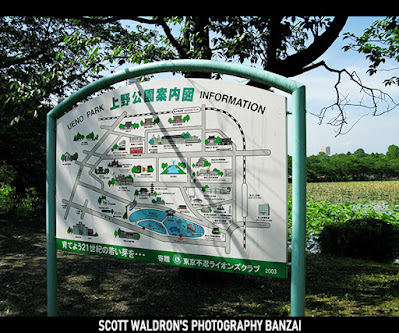
This photo is a simple snapshot, but it is able to tell us that I was in Ueno Park. We also see the pond with the lilies in the background. It’s not a photo I would normally want to use in a collage, but it provides context and information about where I was. That is helpful when writing a description.
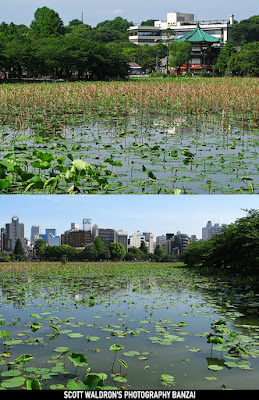 |
| Snapshots to set the scene. |
These two photos give the viewer an idea of scale and context by including the background. No more really than wide angle tourist snapshots, but they help to paint a picture of the area.
 |
| The sign says fishing banned ( つり禁止 / 釣り禁止 ) |
This photo was specifically framed to be rule of thirds with the main focus of the photo on the side. The rough texture of the sign stood out to me at the time of taking the photo. This was the object that drew me into taking photos there in the first place.
 |
| What a disappointing scene to see. The bottle was inaccessible. |
This is the photo that stood out. A disturbance to the beauty of the area. I do remember at the time being disgusted that bottle was in the pond, having noticed it after photographing the sign. You could tell it had been there for a while. I remember thinking about who might be responsible. Was it an accident or intentional? It’s supposed to be a scenic location and I felt the disrespect someone might have had. It evoked the most emotion of the photos.
In this basic example, you can see how different framing and perspective bring out unique aspects of a given area. They give us a collection of feelings and visuals. The photos as a group create a visual story.
For this trip I was mostly using a Canon G9 digicam (see what’s available on eBay). While it felt like a little brick and it wasn’t the easiest thing to fit in a pocket, for the time, it was a nice higher quality all-in-one camera. For a long time these cameras really held their value on the new and used market. The viewfinder was kind of a waste, but it was to have something in there.